 EN
EN
 AR
AR
 BG
BG
 DA
DA
 NL
NL
 FR
FR
 DE
DE
 EL
EL
 HI
HI
 IT
IT
 JA
JA
 KO
KO
 PL
PL
 PT
PT
 RO
RO
 RU
RU
 ES
ES
 SV
SV
 TL
TL
 ID
ID
 LV
LV
 LT
LT
 SR
SR
 UK
UK
 VI
VI
 HU
HU
 TH
TH
 TR
TR
 FA
FA
 MS
MS
 GA
GA
 AZ
AZ
 BN
BN
 LA
LA
 MN
MN
 MY
MY
 KK
KK
 UZ
UZ
 KY
KY

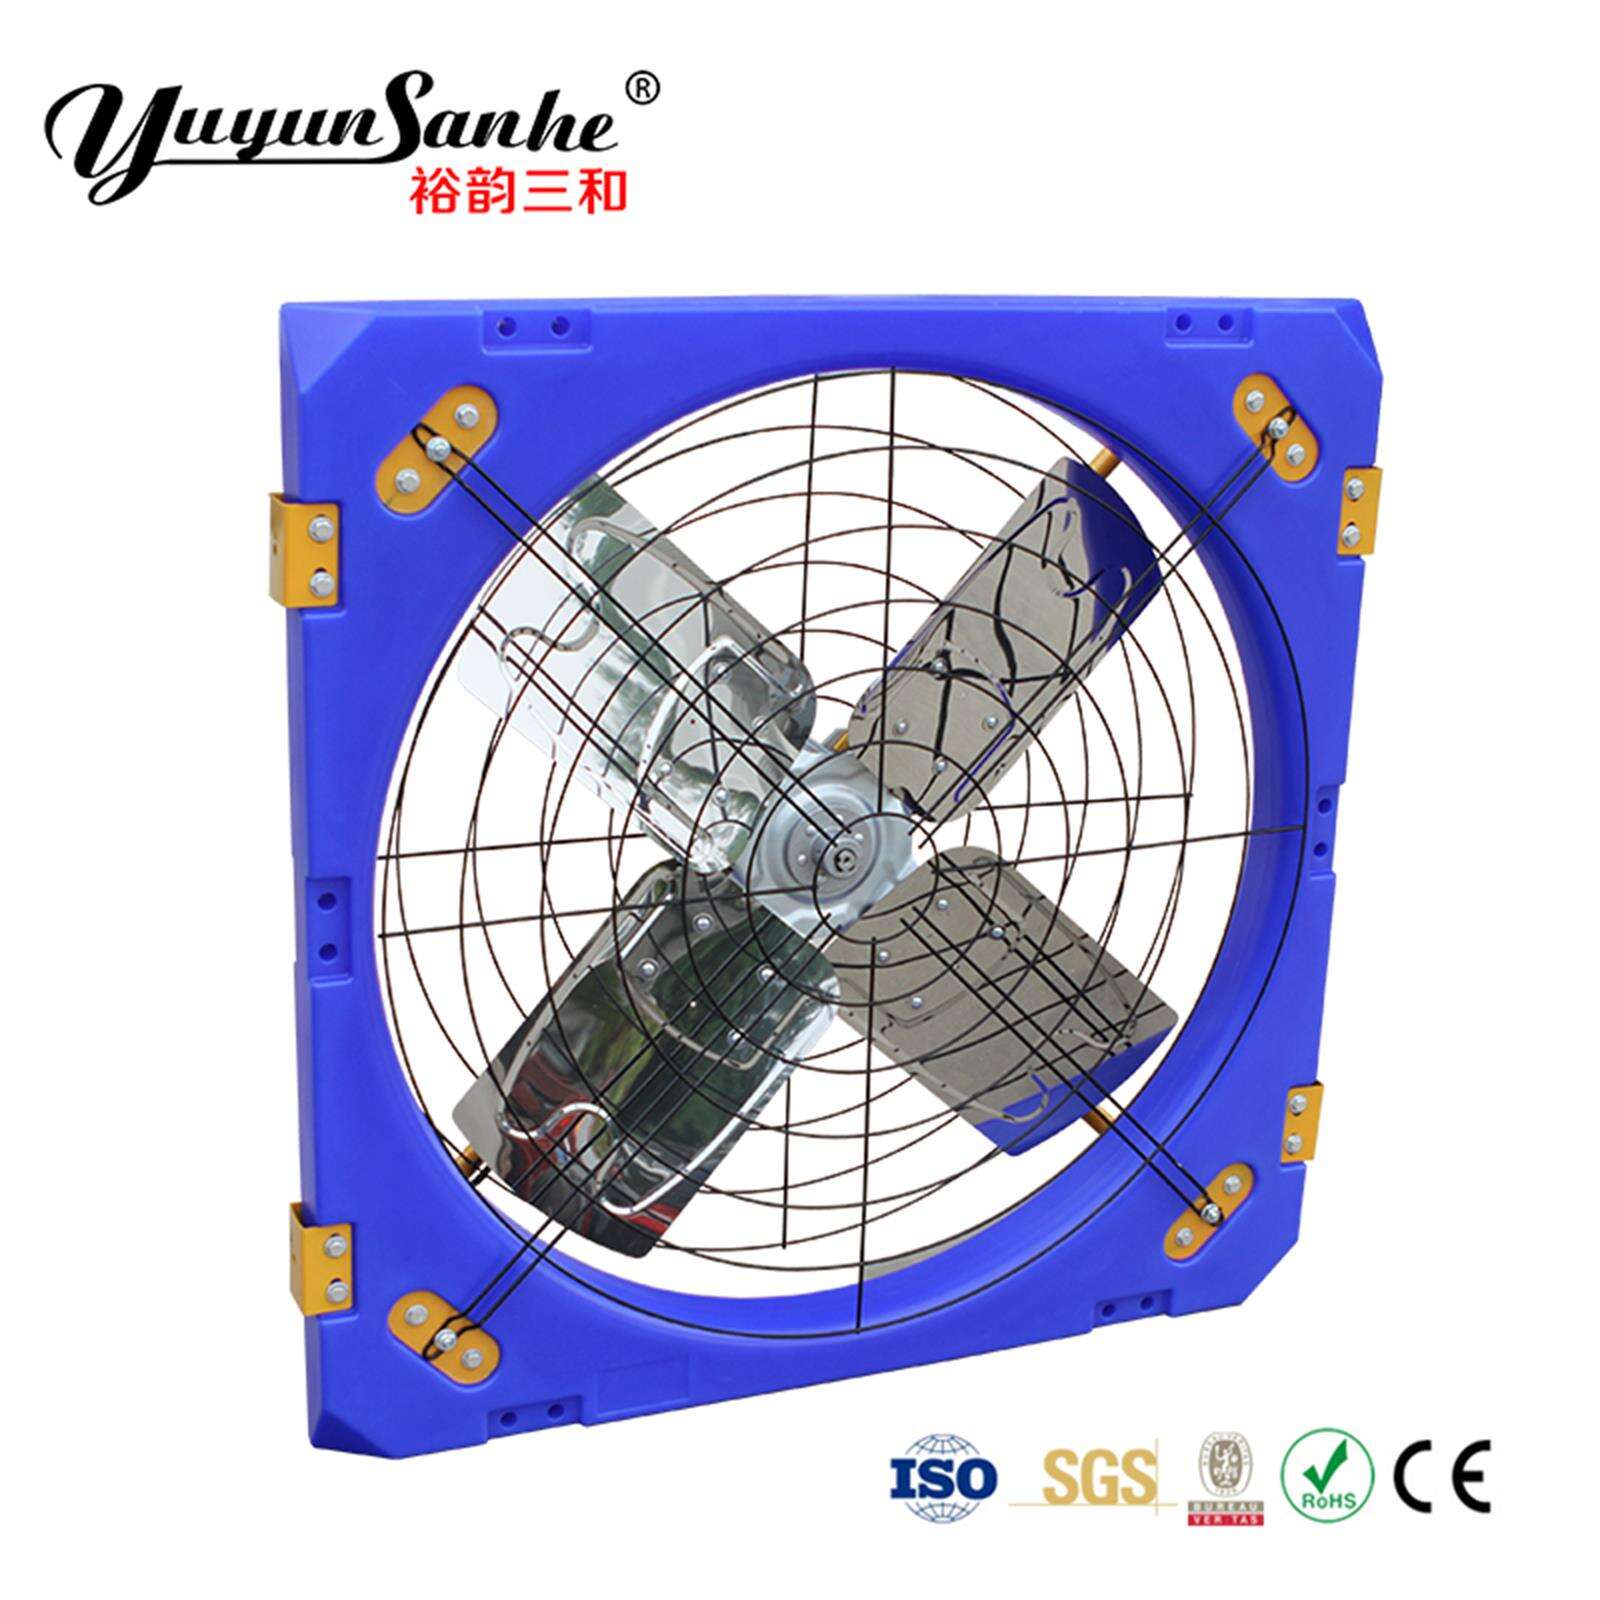
Installing an exhaust fan sounds like a tough job, but don’t let that scare you away you can do it yourself with a little help. A great exhaust fan is just the thing to make the air in your bathroom or kitchen pleasant, clean and clear once again. Let’s walk through the process of getting your exhaust fan working.
Selecting the Optimal Place for Your Exhaust Fan
Where you put a new exhaust fan matters when you’re installing one. You want to situate it so it can best suck up all of that steam, or smoke, or smell. This generally means directly over your shower or cooking spot. Check for pipe or wire where you are cutting the hole for the fan. This is super important, and spending a little extra time on it will save you a major headache down the road.
Cutting the Opening to Size
Now pick up a tape measure and a pencil. You’ll need to label precisely where your fan will go. Ensure that your square or circle is just the right size for that fan not too big, not too small. From there, carefully cut along your lines with a saw. This part is a little messy and you may even want to wear safety goggles. If you don't feel comfortable working with power tools, enlist the help of an adult or professional, just to be safe.
Wiring The Axial Exhaust Fan Unit Into Place
Wiring can sound a little scary, but it's a matter of being cautious and going through things, step by step. First, however, turn the power off. Safety first, always! You will have to wire it to your house and fan. In most cases, you are simply matching color points black to black, white to white and green to green (that is your ground). And with the wires connected, it’s time to mount the fan in that hole you cut earlier. Tighten it down, so it’s not rattling when it’s going.
Plug and Fill to Reduce Air Leaks
No one likes drafts or bugs sneaking in through the fan opening. Before putting the fan back in the vent hole and tightening the screws, apply a little caulk or foam insulation around the edge where the fan meets the wall or ceiling. This closes it off nice and tight. It may not seem like a back breaker, but it can seriously cramp your fan and your home’s energy efficiency.
Testing and Ensuring Proper Functionality
OK, you’ve placed your fan, sealed up the gaps, and everything is great. Now turn the power back on and test it out. Listen for unfamiliar sounds and make sure air is moving the way it should. If that doesn’t jive, cross reference your wiring and installation. Sometimes it just needs a slight tweak. Once all goes well, congratulations! You now have a working ventilation exhaust fan.
And while you're at this, remember that the more effort you put into making every step, Easy or not, the more easily the following steps will come. And now, thanks to your new exhaust fan, your home will be a less steamy and smelly place. Good move taking this on.
 Sophie Dong
